
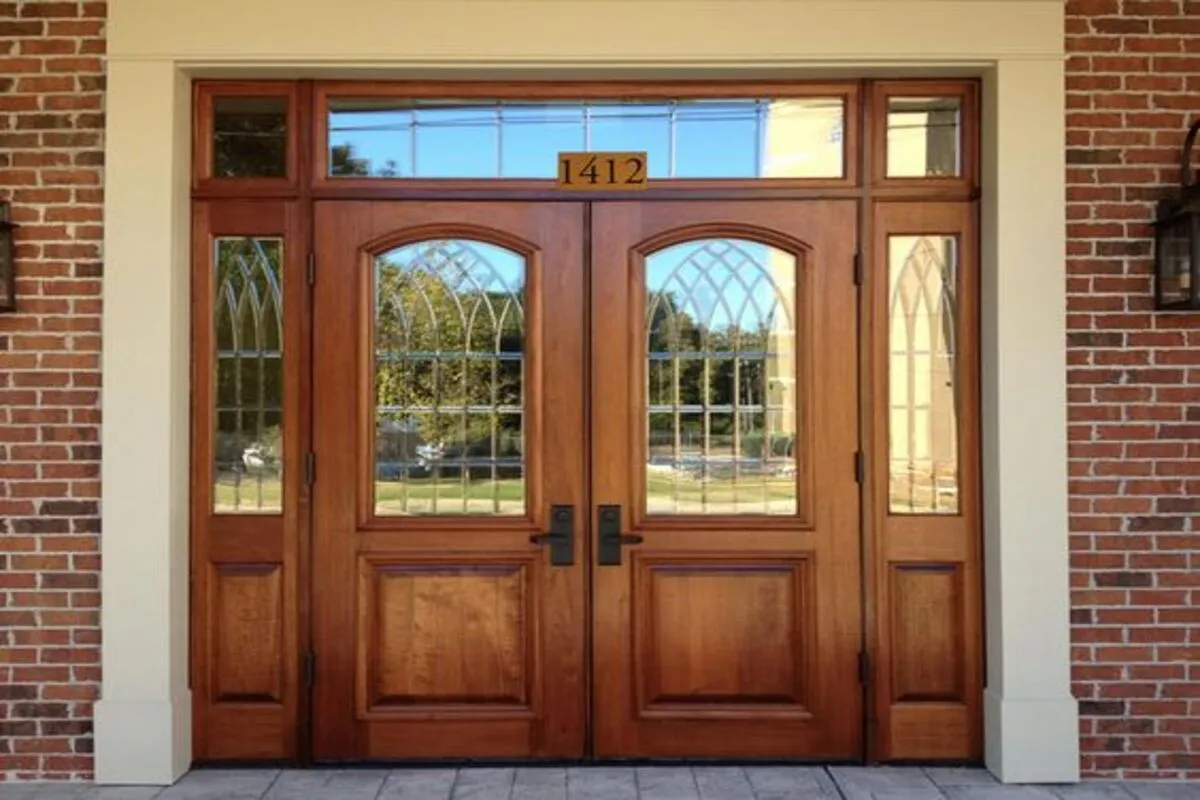
Your front door takes a beating every single day. Sun, rain, humidity, and everyday use slowly take away the finish until the wood starts to look dull, cracked, or just plain worn out. For a lot of homeowners, that’s when the panic sets in. Do you replace it or try to fix it?
Most of the wooden front doors don’t need replacing. What they need is a proper refinish. Refinishing a wooden door can bring it back to life completely, restoring the grain, the color, and the protection that keeps it looking great for years. If it is done wrong, you’re just adding another layer on top of a problem.
This guide walks you through the full process, from spotting the signs that your door needs attention to applying a finish that holds up. Whether you’re doing it yourself or thinking about calling in the professionals, knowing the steps puts you in control.
What You’ll Need Before You Start
Gathering everything first saves you from stopping halfway through. Here’s your basic list:
- Sandpaper in 80, 120, and 220 grit
- Orbital or palm sander for flat surfaces
- Sanding sponge for carved or detailed areas
- Wood cleaner or mild degreaser
- Chemical stripper (if the old finish is heavily cracked)
- Wood conditioner
- Exterior-grade wood stain in your chosen color
- Marine-grade or UV-resistant polyurethane topcoat
- Natural bristle brush and lint-free rags
- Painter’s tape and drop cloths
- Safety glasses and a dust mask
Step-by-Step: How to Refinish a Front Door
Step 1: Take the Door Down
This one step makes everything else easier. Remove the door from its hinges and lay it flat across a pair of sawhorses. Working on a flat surface means you get even coats without drips, and you can reach every corner properly.
Take off all the hardware too; handle, deadbolt, hinges, kick plate, everything. If any piece is tarnished or worn, this is a good time to replace it. Store the pieces together so nothing gets lost.
Pro tip: Use a utility knife to score around the hardware before removing it. This prevents the old finish from peeling off in strips around those areas.
Step 2: Clean the Surface
Wipe the door down with a wood-specific cleaner or a mild degreaser. The door has spent months or years outside collecting dust, grease, pollen, and grime. Use a soft cloth and scrub gently. Rinse with clean water and let it dry fully before moving on. Any moisture left in the wood will cause problems with the stain later.
Step 3: Strip the Old Finish
This is the step most people want to skip, and the one that causes the most problems when they do.
If the old finish is just lightly faded, sanding alone can work. But if there’s peeling, cracking, or multiple old layers built up, use a chemical stripper. Apply it evenly, let it sit for the recommended time, then scrape it off with a plastic putty knife. Follow up with mineral spirits to clean off any residue.
At Door4Life, the team uses professional-grade removal materials to strip all old and damaged layers completely before any sanding begins. That clean base is what separates a finish that lasts from one that peels again in a year.
Step 4: Sand in Stages
Start with 80-grit sandpaper to break up any remaining finish and rough spots. Move to 120-grit to smooth the surface, then finish with 220-grit for a clean, fine texture that accepts stain evenly.
Always sand with the grain of the wood, not against it. For carved panels or detailed edges, use a sanding sponge to get into the grooves without changing the shape of the wood.
After each round of sanding, wipe the door down with a dry microfiber cloth. Dust left behind will get stuck in the stain and show up in the final finish.
Step 5: Apply Wood Conditioner
This step is easy to miss and makes a big difference. Wood conditioner preps the grain to absorb stain evenly. Without it, the stain can go on blotchy, darker in some spots, lighter in others.
Apply it with a clean rag, let it soak in for the recommended time, then wipe off the excess. Now the surface is ready for color.
Step 6: Stain the Door
Choose an exterior-grade stain that suits the wood type and your home’s style. Affordable door staining doesn’t mean cutting corners on product quality; a good stain applied correctly outlasts a premium one applied badly.
Use a lint-free rag or brush, working with the grain from top to bottom. Apply the first coat, let it penetrate, then wipe away any excess before it dries. The longer it sits, the darker it goes, so wipe consistently for an even tone.
Let it dry fully, then apply a second coat the same way. Two coats give you better color depth and more even coverage.
Step 7: Seal With a Protective Topcoat
This is the layer that actually protects everything underneath. To varnish a wooden door properly for outdoor use, choose a marine-grade or UV-resistant polyurethane or spar urethane. These products are built to handle sun, humidity, and rain, which matters a lot in climates like Atlanta’s.
Apply the first coat with a clean brush in smooth, long strokes. Let it dry completely. Then lightly sand with 220-grit paper to help the second coat bond, wipe away the dust, and apply coat two. For high-quality door finish results that last, Door4Life applies four coats of marine-grade UV topcoat on every project.
Refinishing Timeline at a Glance
| Step | Task | Estimated Time |
| 1 | Remove door and hardware | 20–30 min |
| 2 | Clean the surface | 30 min + drying |
| 3 | Strip the old finish | 1–2 hours |
| 4 | Sand in stages | 2–4 hours |
| 5 | Apply wood conditioner | 30 min + drying |
| 6 | Stain (2 coats) | 2–4 hours with drying |
| 7 | Apply topcoat (2–4 coats) | 3–6 hours with drying |
| 8 | Reinstall the door and hardware | 30 min |
Signs Your Front Door Needs Refinishing
Before you grab a brush, take a good look at the door. Not every scuff means you need a full refinish, but these signs usually do:
- The color has faded or gone patchy from sun exposure
- The surface feels rough, chalky, or dry to the touch
- You can see peeling, flaking, or bubbling in the old finish
- There are dark water stains or streaks from rain
- The wood looks gray instead of rich and warm
If you’re seeing two or more of these, it’s time. Waiting longer just lets moisture work deeper into the wood, and that’s when real damage starts.
DIY vs. Professional Refinishing
Doing it yourself is completely possible if the door is in decent shape and you’re comfortable with the process. The results can be great, as long as you don’t rush the sanding, skip the conditioner, or apply topcoat in direct sunlight.
Where things go sideways is usually the prep work. Skipping a step or using the wrong grit sandpaper can leave the surface uneven, and that shows clearly once the stain goes on. Fixing it means sanding it all back down and starting over.
For doors with heavy damage, deep cracks, or multiple old paint layers, professional exterior door refinishing in Alpharetta and the wider Atlanta area often makes more sense. Door4Life’s 12-step on-site process covers everything from stripping and triple sanding to custom stain matching and four-coat UV protection — all completed in a single day at your home.
The same applies to garage door refinishing, a larger surface that gets more sun and wear, where professional results make a visible difference to your curb appeal.
How to Keep Your Finish Looking Good
Refinishing isn’t a once-and-done deal, but it’s easy to maintain when you stay on top of it.
- Wipe the door down with a damp cloth monthly to remove dust and pollen
- Check the finish every six months for early signs of fading or wear
- Apply a light maintenance coat of conditioner once a year
- Get a fresh topcoat every two to three years, depending on sun exposure
Doors that face direct south or west sun will need attention sooner. UV exposure is the biggest enemy of any finish, which is why marine-grade UV-resistant topcoats make such a difference in the long run.
Conclusion
Your front door says a lot about your home before anyone even steps inside. A faded, worn door brings down the whole look, and it only gets worse if you leave it. Whether you take the DIY route or call in a professional, getting the refinishing done right makes a real difference. The process takes patience, but the result is a door that looks brand new and holds up through whatever weather comes next.